Effects & the effect stack
Effects change how a clip looks and sounds — its brightness, color, size, position, and fades. Sprocket ships with a broad set: everyday adjustments like Transform, Color, Brightness, and Fade; a suite of dedicated color-grading tools; and a deep library of audio effects. They all work the same way, they all live in the Inspector, and you can stack as many as you need on a single clip.
What’s in this guide
Section titled “What’s in this guide”Change how a clip looks
Section titled “Change how a clip looks”Effects let you adjust a clip’s picture — its brightness, color, size, and position. To add one:
- Select the clip you want to change.
- Open the Effects menu and choose an effect. Transform, Color, Brightness, and Fade cover the everyday adjustments; the rest of the menu holds color-grading tools for when you need them.
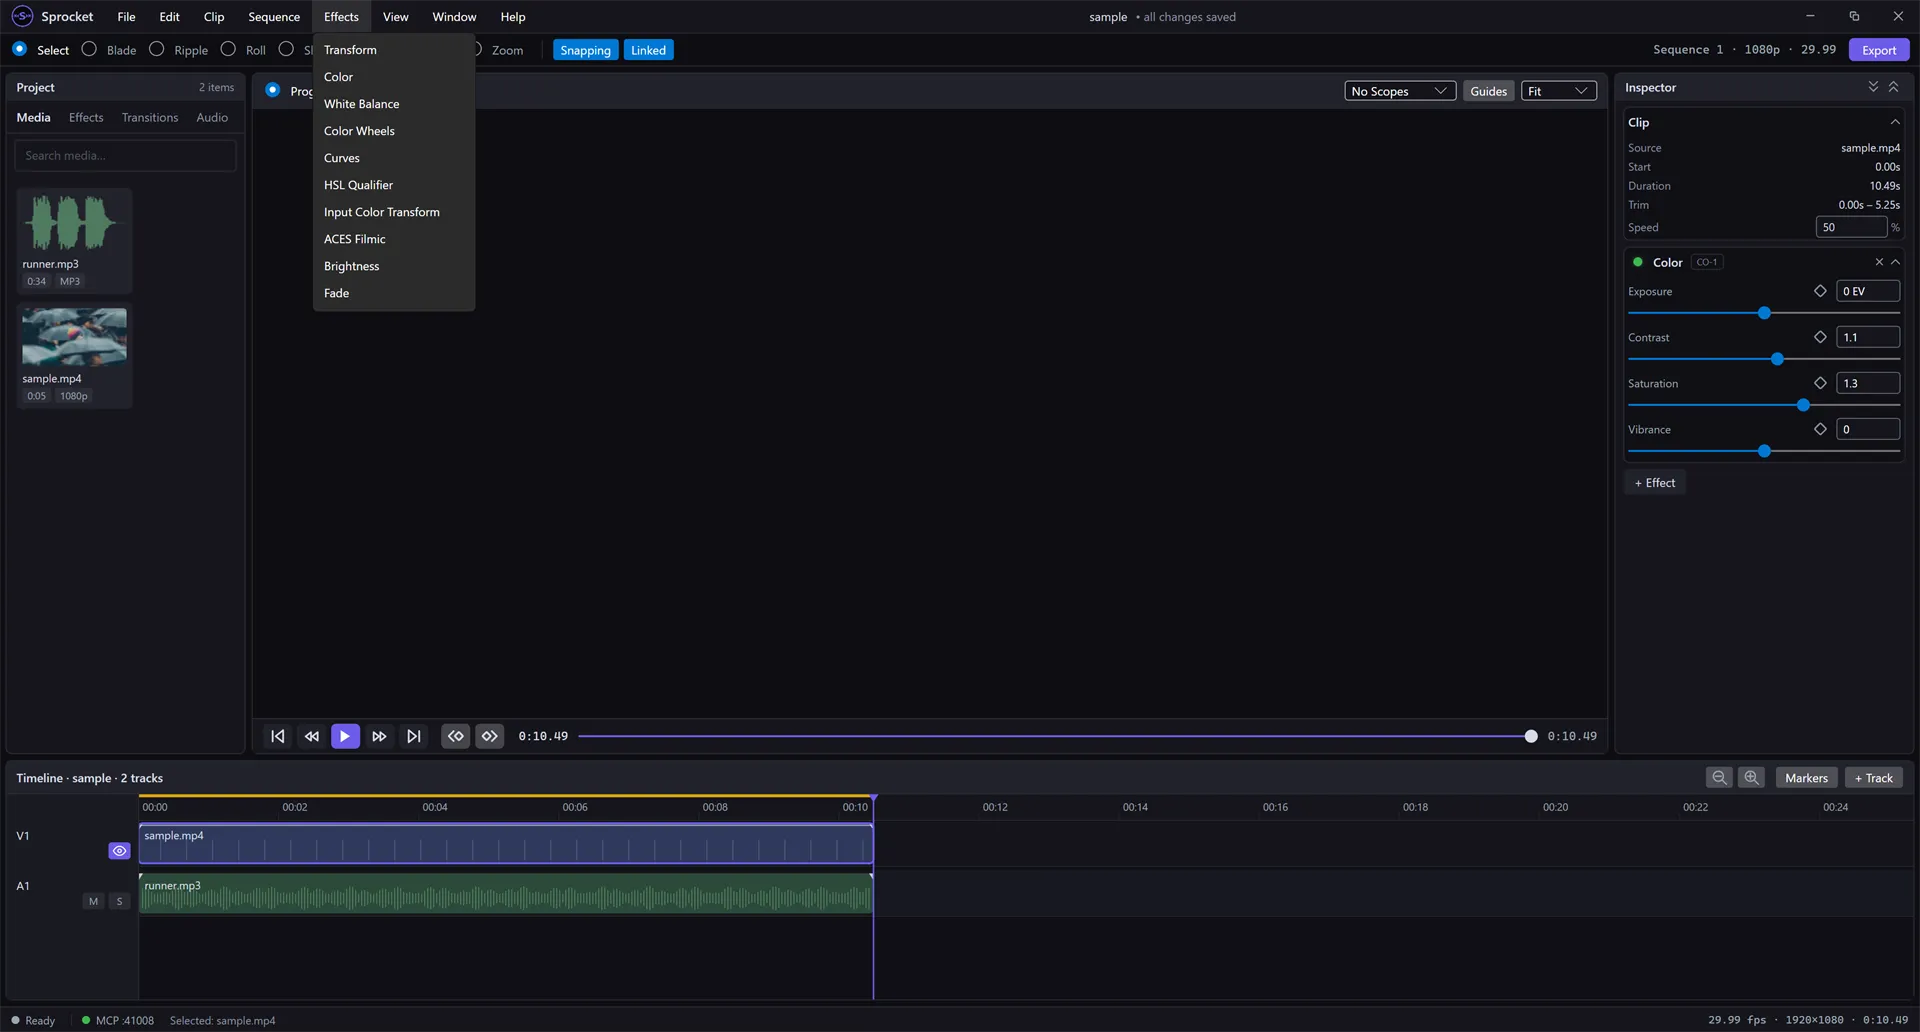
The effect appears as a new section in the Inspector, where you control it. For example, Transform lets you scale, reposition, and rotate the picture, while Color adjusts exposure, contrast, saturation, and vibrance.
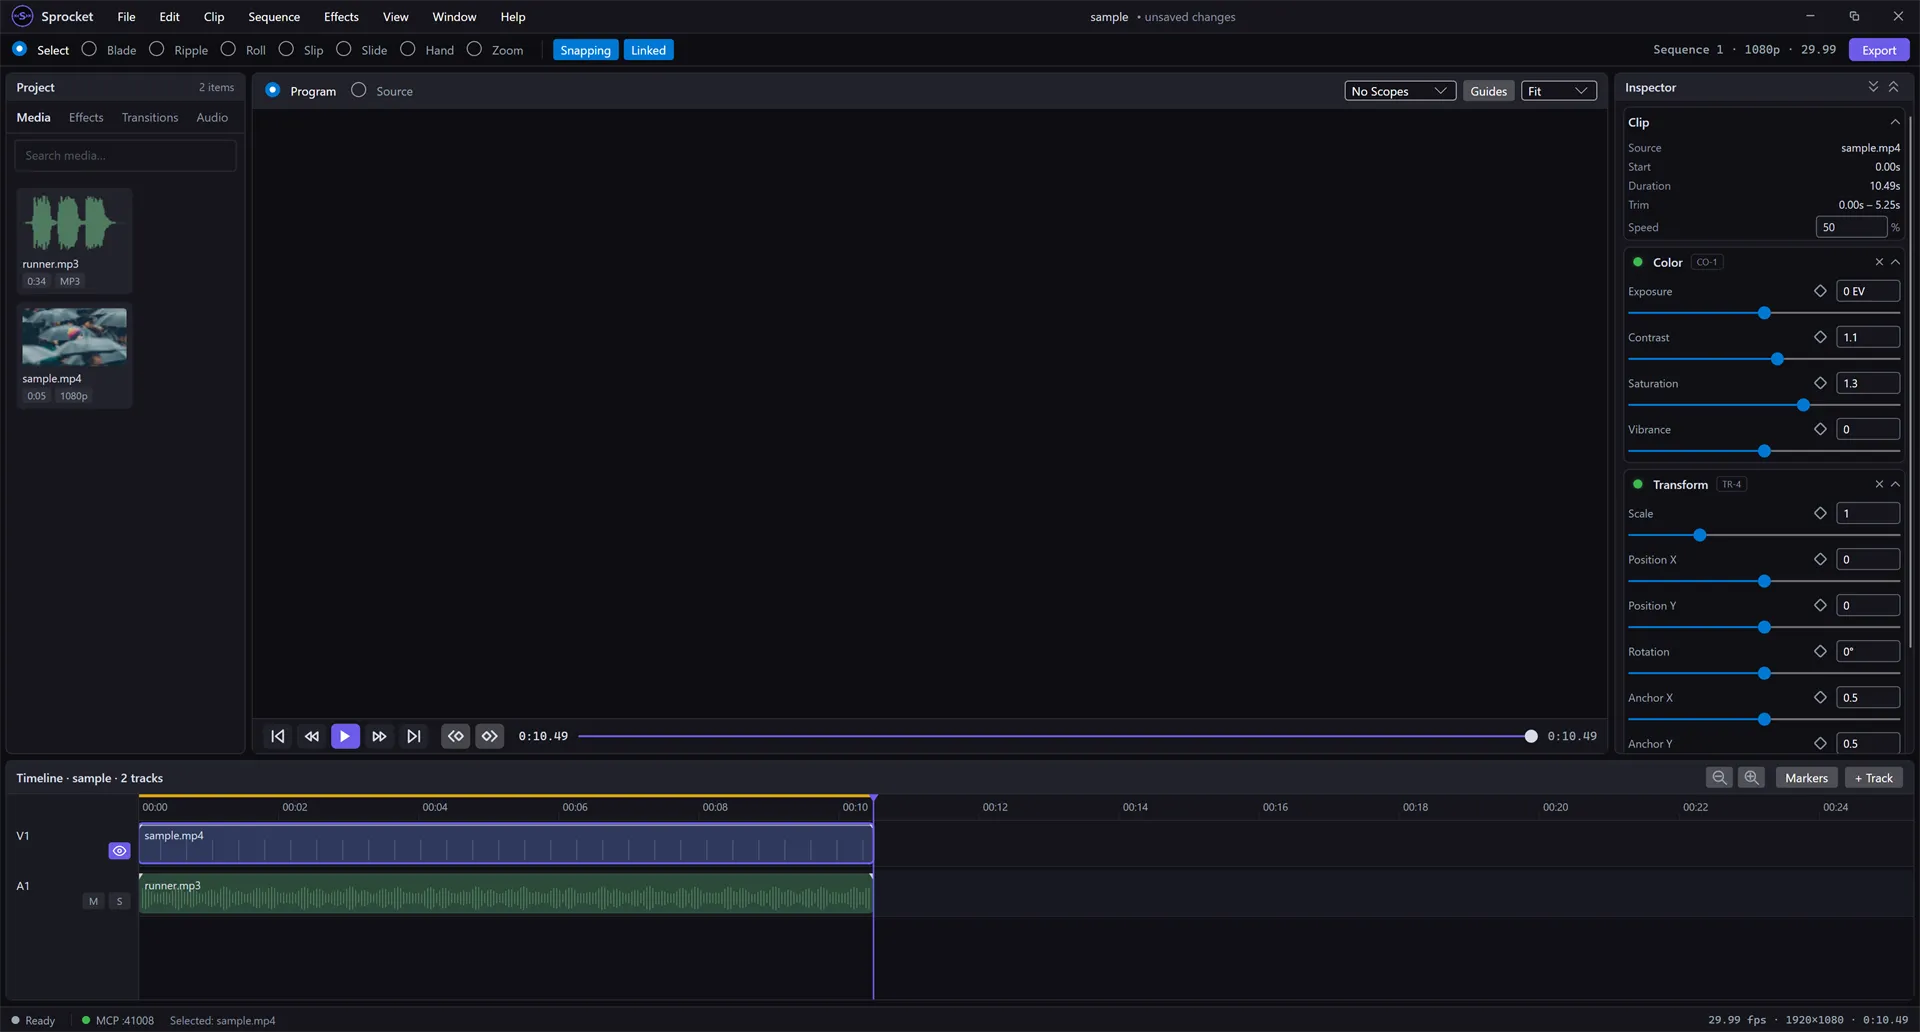
- Drag a slider or type a value into the box to change a setting. The preview updates as you go.
- To remove an effect, click the ✕ on its section heading.
- You can also click + Effect at the bottom of the Inspector to add one without using the menu.
Tip: See the small diamond next to each setting? That’s for keyframing — animating a value so it changes over time (for example, a clip that slowly zooms in). It’s there when you’re ready for it.
Work with the effect stack
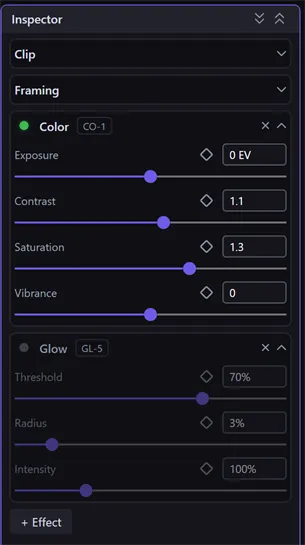
Section titled “Work with the effect stack”Once a clip has a few effects, the Inspector lists them top to bottom in the order they’re applied: each effect works on the result of the one above it. You can switch effects off, reorder them, and fold sections away to keep the panel tidy.
Turn an effect off without removing it
Section titled “Turn an effect off without removing it”Each effect’s heading has a small light on the left. Green means the effect is on. Click it to turn the effect off: the light goes grey, the settings fade, and the preview shows the clip without that effect. Click it again to turn the effect back on.
Your settings stay as they were while the effect is off, so this is an easy way to compare the clip with and without an effect, and to decide whether you still need it.
Change the order of effects
Section titled “Change the order of effects”Order matters. For example, a Glow placed after a Color effect glows from the colors you’ve already adjusted, while the other way around adjusts the glow too. To move an effect:
- Drag its heading onto another effect. Drop on the top half of that effect to place it before it, or the bottom half to place it after it.
- Or right-click its heading and choose Move Up or Move Down. (Move Up is greyed out on the first effect and Move Down on the last.)
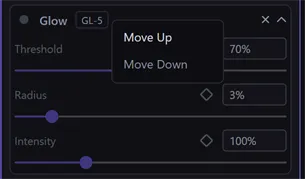
Either way it’s one step, so Ctrl+Z puts it back.
Expand and collapse sections
Section titled “Expand and collapse sections”Click the arrow on the right of any section heading to fold it away or open it again. To do every section at once, use the two double-arrow buttons at the top right of the Inspector: Expand all sections and Collapse all sections.
Adjust numbers faster
Section titled “Adjust numbers faster”- Drag across a number to change it without reaching for the slider: drag
right to raise it, left to lower it. Hold
Shiftfor bigger jumps orCtrlfor fine control. PressEscbefore letting go to cancel and put the value back. This works on the numbers in the Inspector and in the audio mixer. - Click a number (without dragging) to type a new value. Press
Enterto apply it. - Percentages: settings such as Opacity, Scale, and the mix and
amount controls on audio effects show as percentages, like
50%. You can type50%or just50— both mean half. - Not sure what a setting does? Hover over its name for a short description.
Tip: Dragging a number, like dragging a slider, counts as a single step, so one
Ctrl+Zundoes the whole drag.
Where to go next
Section titled “Where to go next”- Color grading — White Balance, Color Wheels, Curves, and the HSL Qualifier for finer control over color.
- Keyframing & animation — animate any effect setting so it changes over time.
- Transitions — blend one clip into the next at a cut.
- Adjust the audio — mute, solo, and fade a clip’s sound.