Preview and monitors
The Program monitor is your main preview — it shows your edited timeline at the current playhead position. Alongside it, the Source monitor lets you look at a clip’s original, untrimmed footage. Between the two you can also zoom the picture, overlay framing guides, and expand the preview to fill the whole screen.
What’s in this guide
Section titled “What’s in this guide”Program vs. Source: the two monitors
Section titled “Program vs. Source: the two monitors”Two tabs sit above the preview:
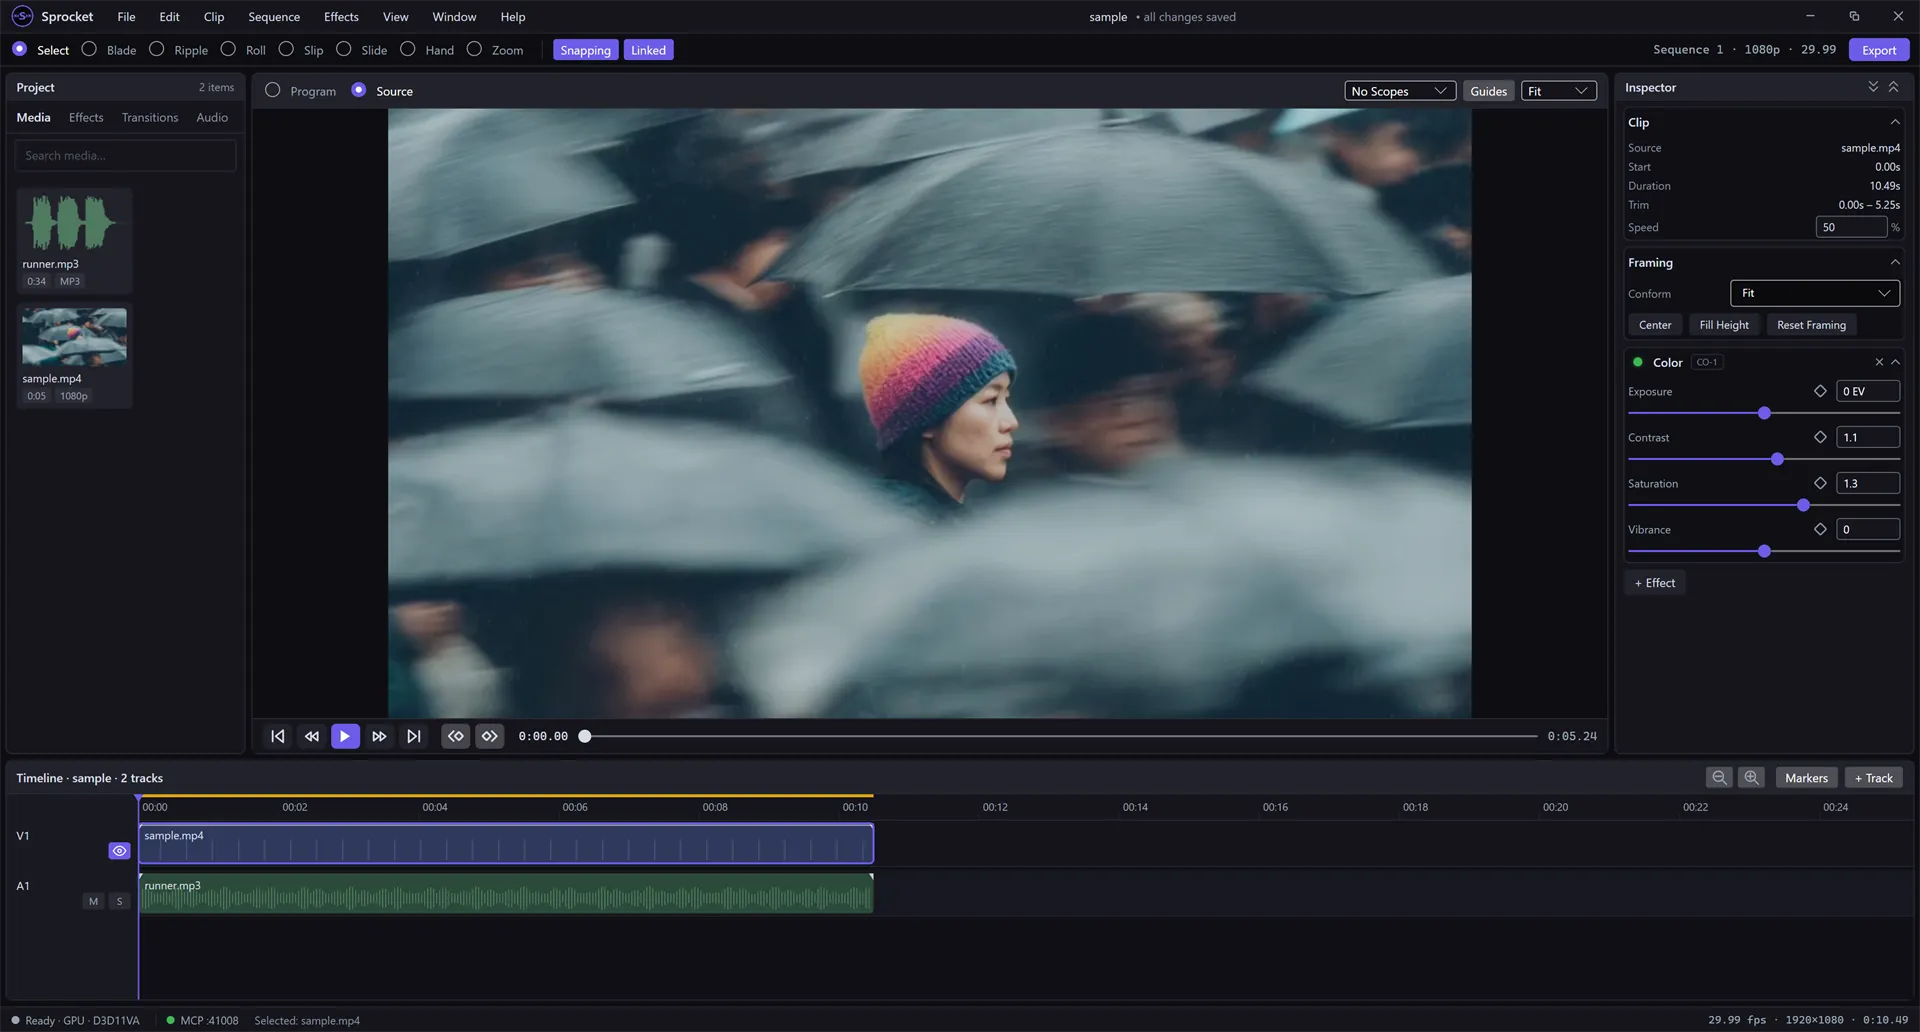
- Program (the default) — your finished edit: every enabled track, composited together, at the current playhead position. This is what your export will look like.
- Source — the raw footage behind whichever clip is selected on the timeline (or whichever file you double-clicked in the Media bin), from its very first frame to its very last, ignoring any trim, speed change, or effects you’ve applied. It’s useful for previewing what more of a clip looked like before you trimmed it, or for judging a shot on its own before you decide how to use it.
Click a clip on the timeline, then click Source to see its original footage; click Program to go back to your edited timeline. The transport controls below the picture — play, step, and the scrubber — work the same way in both, always driving whichever monitor is active.
You can also double-click a file in the Media bin to open it in the Source monitor directly — no need to put it on the timeline first.
The Source monitor plays the file’s audio in sync with the picture. An audio-only file opens too: instead of a picture it shows the sound’s waveform under an Audio only label, with the playhead and any marked range drawn over it. Only one monitor plays at a time — starting playback in one pauses the other.
On the Source tab, a bar under the picture holds the tools for cutting the file into your sequence:
- Mark In / Mark Out buttons (the same as
I/O), and In, Out, and Dur readouts for the marked range. - Insert and Overwrite buttons (the same as
,and.). - Drag Video Only / Drag Audio Only handles, for dragging just one stream onto the timeline.
All of these are explained in Three-point editing.
Zoom the preview
Section titled “Zoom the preview”The Fit ▾ menu above the picture sets how large it’s drawn:
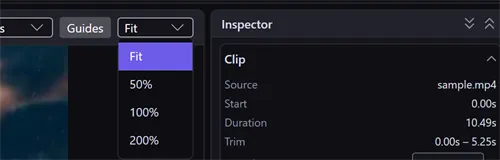
- Fit (the default) — scales the picture to use all the available space in the monitor panel.
- 50% / 100% / 200% — a fixed zoom level, useful for checking fine detail or comparing exact pixels at 100%.
This only changes how large the preview looks on your screen — it has no effect on your project’s frame size or your exported video.
Overlay framing guides
Section titled “Overlay framing guides”Click Guides above the picture to overlay a frame outline, a rule-of-thirds grid, and action-safe / title-safe rectangles:
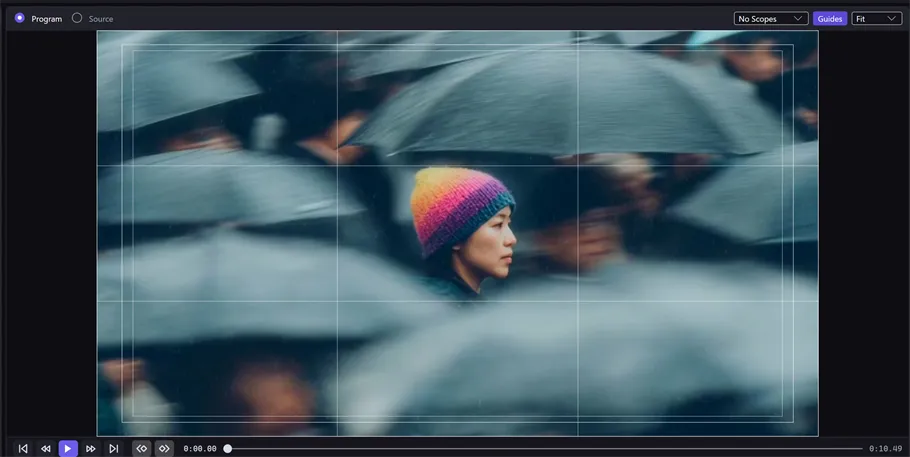
- The frame outline marks exactly where your video ends — handy for judging composition on a sequence whose empty canvas would otherwise be hard to tell apart from the panel around it.
- The rule-of-thirds grid divides the frame into thirds, a classic guide for placing a subject off-center.
- The safe-area rectangles mark the zone action and titles should stay inside of, in case the very edge of the frame gets cropped on some screens.
Click Guides again to turn the overlay off. It’s purely a preview aid — none of it appears in your exported video.
Full-screen preview
Section titled “Full-screen preview”Press Ctrl+F (⌘F on macOS) to expand the preview to fill your whole
screen, with no menu bar, toolbar, or panels in the way:
Playback keeps working exactly as before — Space still plays and pauses, and
the frame-step and jump shortcuts all stay live — so you can judge a shot at
full size without losing the transport. Press Esc or Ctrl+F again to
return to the normal window.
Full-screen preview works for both the Program and Source monitors, so you can check either one at full size.
Related
Section titled “Related”- Play and preview your video — the transport controls shared by both monitors.
- Three-point editing — mark a range in the Source monitor and cut it into your sequence.
- Color grading & scopes — the waveform, vectorscope, and other analysis overlays next to Guides.
- Troubleshooting choppy playback — if the preview itself stutters or can’t keep up.